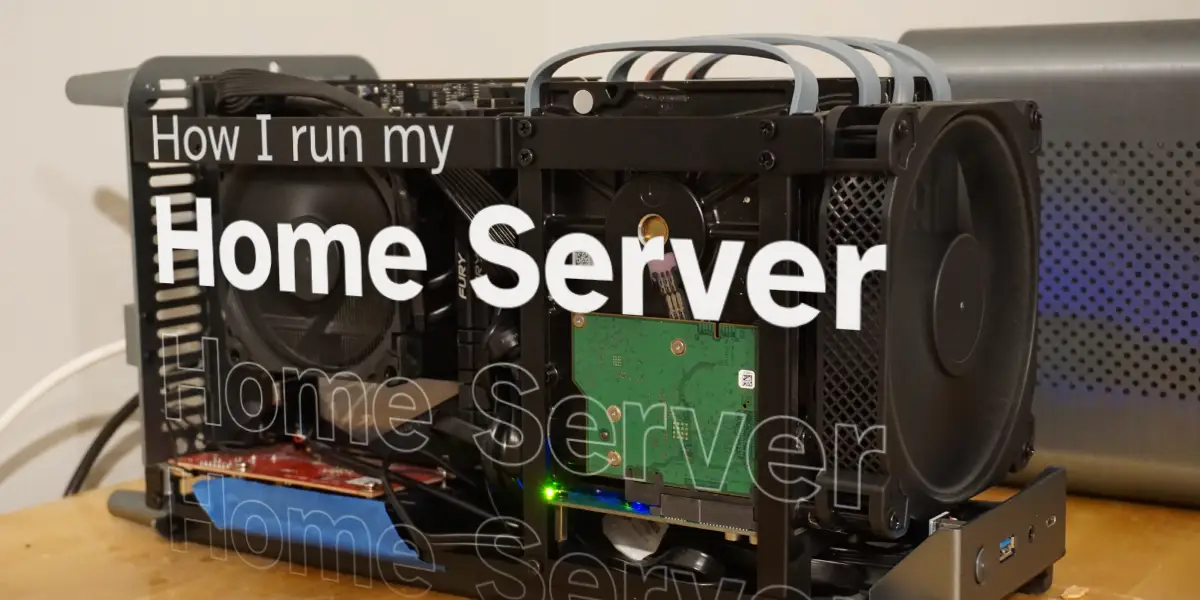
Running your own home server offers many benefits. First, you can eliminate many subscriptions and don’t have to worry about companies discontinuing services — things like Google Drive and Google Photos have self-hostable alternatives. Furthermore, you can run your own game servers for you and your friends. Rather than paying hosting providers upwards of $20/month per game for shared hardware, you can provision your own game servers fairly simply and have full control of resource usage.
While deciding on how I wanted to build out my server, here’s the requirements I had in mind:
- Ability to run my own programs and applications (ie jellyfin, minecraft servers).
- Ability to run guest virtual machines with any OS (for example, I run MacOS for bluebubbles and sometimes Windows to run untrusted software).
- Able to perform typical NAS functions such as creating network shares.
- Something relatively powerful (game servers usually require high single-core performance, and plenty of memory).
The Hardware
Initially, many people rush to buy a pre-built NAS solution from companies like Synology or QNAP, but after digging deeper, I found them unsuitable for my use case. Let’s take the Synology DS923+ for example:
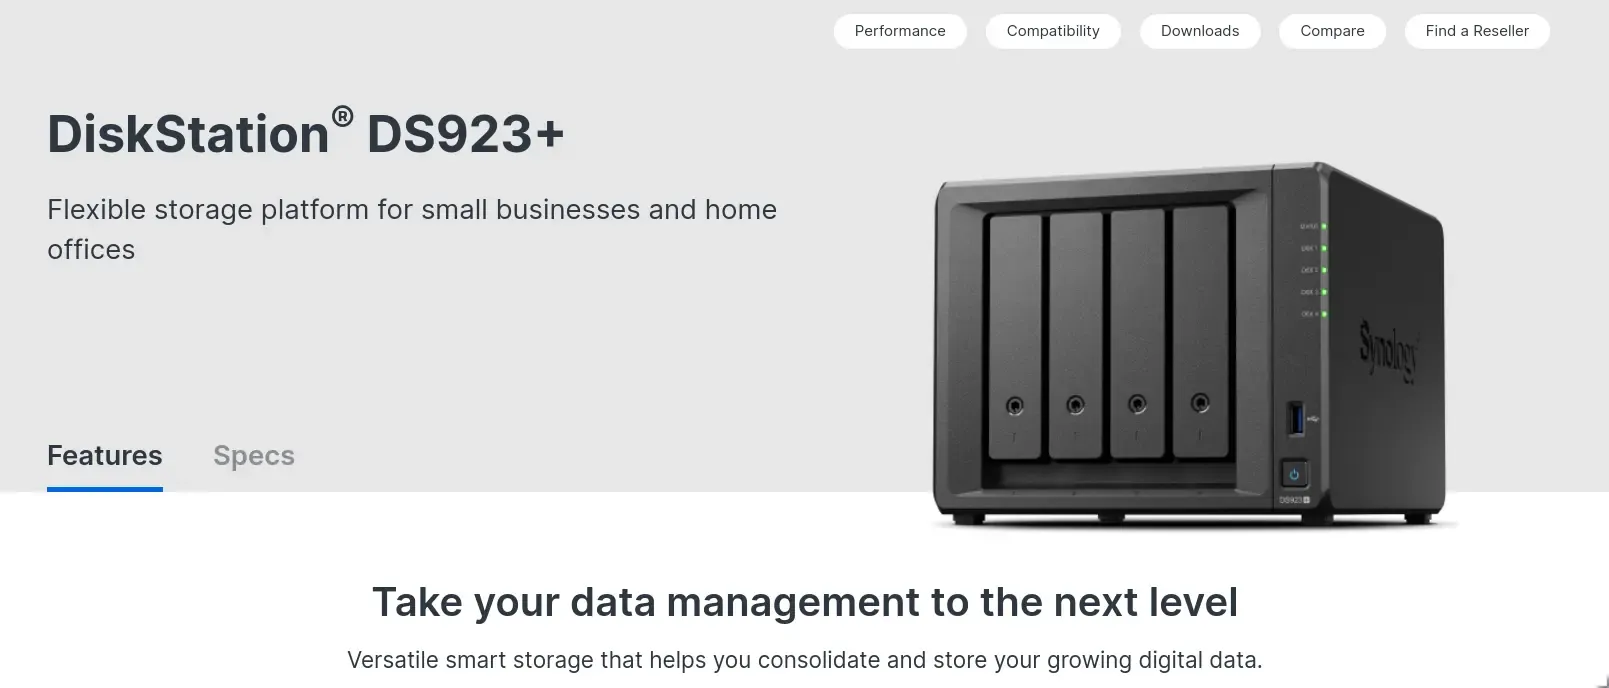
Image from Synology’s website.
For $579, you get a dual-core AMD cpu with a boost speed of 3.1 GHz with 4 GB of memory. To put this into perspective, I’m pretty sure my phone (S24) is more powerful than this NAS. This is not to say that Synology is bad—they provide excellent software and support—but it’s not what I was looking for, especially given that I want to run multiple VMs and game servers which demand high single-core performance.
Instead, I opted for a custom-built server. Here’s the hardware I chose:
- AMD Ryzen 9 3900X (12 cores, 24 threads, 3.8 GHz base, 4.6 GHz boost)
- 64 GB of Kingston DDR4 3200 MHz memory
- 500 GB Crucial MX500 SSD (as a boot drive)
- 2 TB SK Hynix Platinum P41 NVMe SSD (for VMs and CTs)
- 3x 8 TB Seagate IronWolf NAS HDDs (for mass storage)
- Gigabyte B550I AORUS PRO AX
- Jonsbo N1 Mini-ITX Case
The CPU and Memory were taken from my desktop build (which I used as an excuse to upgrade my desktop), and the rest was purchased new. Originally, I had omitted the NVMe SSD, but after running into performance issues with the VMs, I decided to add it. The B550I is an excellent board, with built-in 2.5gbe at an affordable price, and the Jonsbo N1 is a case that fits everything perfectly—though cooling is a bit of an issue.
And as an aside note, I highly recommend Kingston memory—their RMA process is unmatched. I had a stick of memory go bad, and their lifetime warranty was honored within minutes of sending the report in. Their support team was super chill and nonchalant about the whole thing, which was a nice change of pace from the usual support experience. Can’t say much the same about SK Hynix.
The Software
The system runs Proxmox VE. This decision wasn’t made lightly, I spent a lot of time thinking about the benefits of running Proxmox versus a traditional NAS operating system like TrueNAS.
A brief introduction of each:
- Proxmox Virtual Environment, based on Debian, offers a web GUI to manage virtual machines and LXC containers.
- TrueNAS, based on FreeBSD or Debian (for the Core and Scale versions respectively), is a purpose-built NAS operating system that handles storage and network shares for you, with the ability to run VMs and containers.
TrueNAS
I found that TrueNAS Scale was too buggy for my liking, and TrueNAS Core was missing the containerization features I wanted. TrueNAS SCALE’s virtualization (at the time of testing) is built on Kubernetes (k3s specifically), and there were multiple times where kubernetes would crash and I would have to spend hours trying to figure out what went wrong. Updating and installing apps were also a hassle, as the built in app library was limited, and TrueCharts (the community app library) released multiple breaking changes that would require yet another hour of migrations. It’s VM management was also subpar, with limited options for configuration.
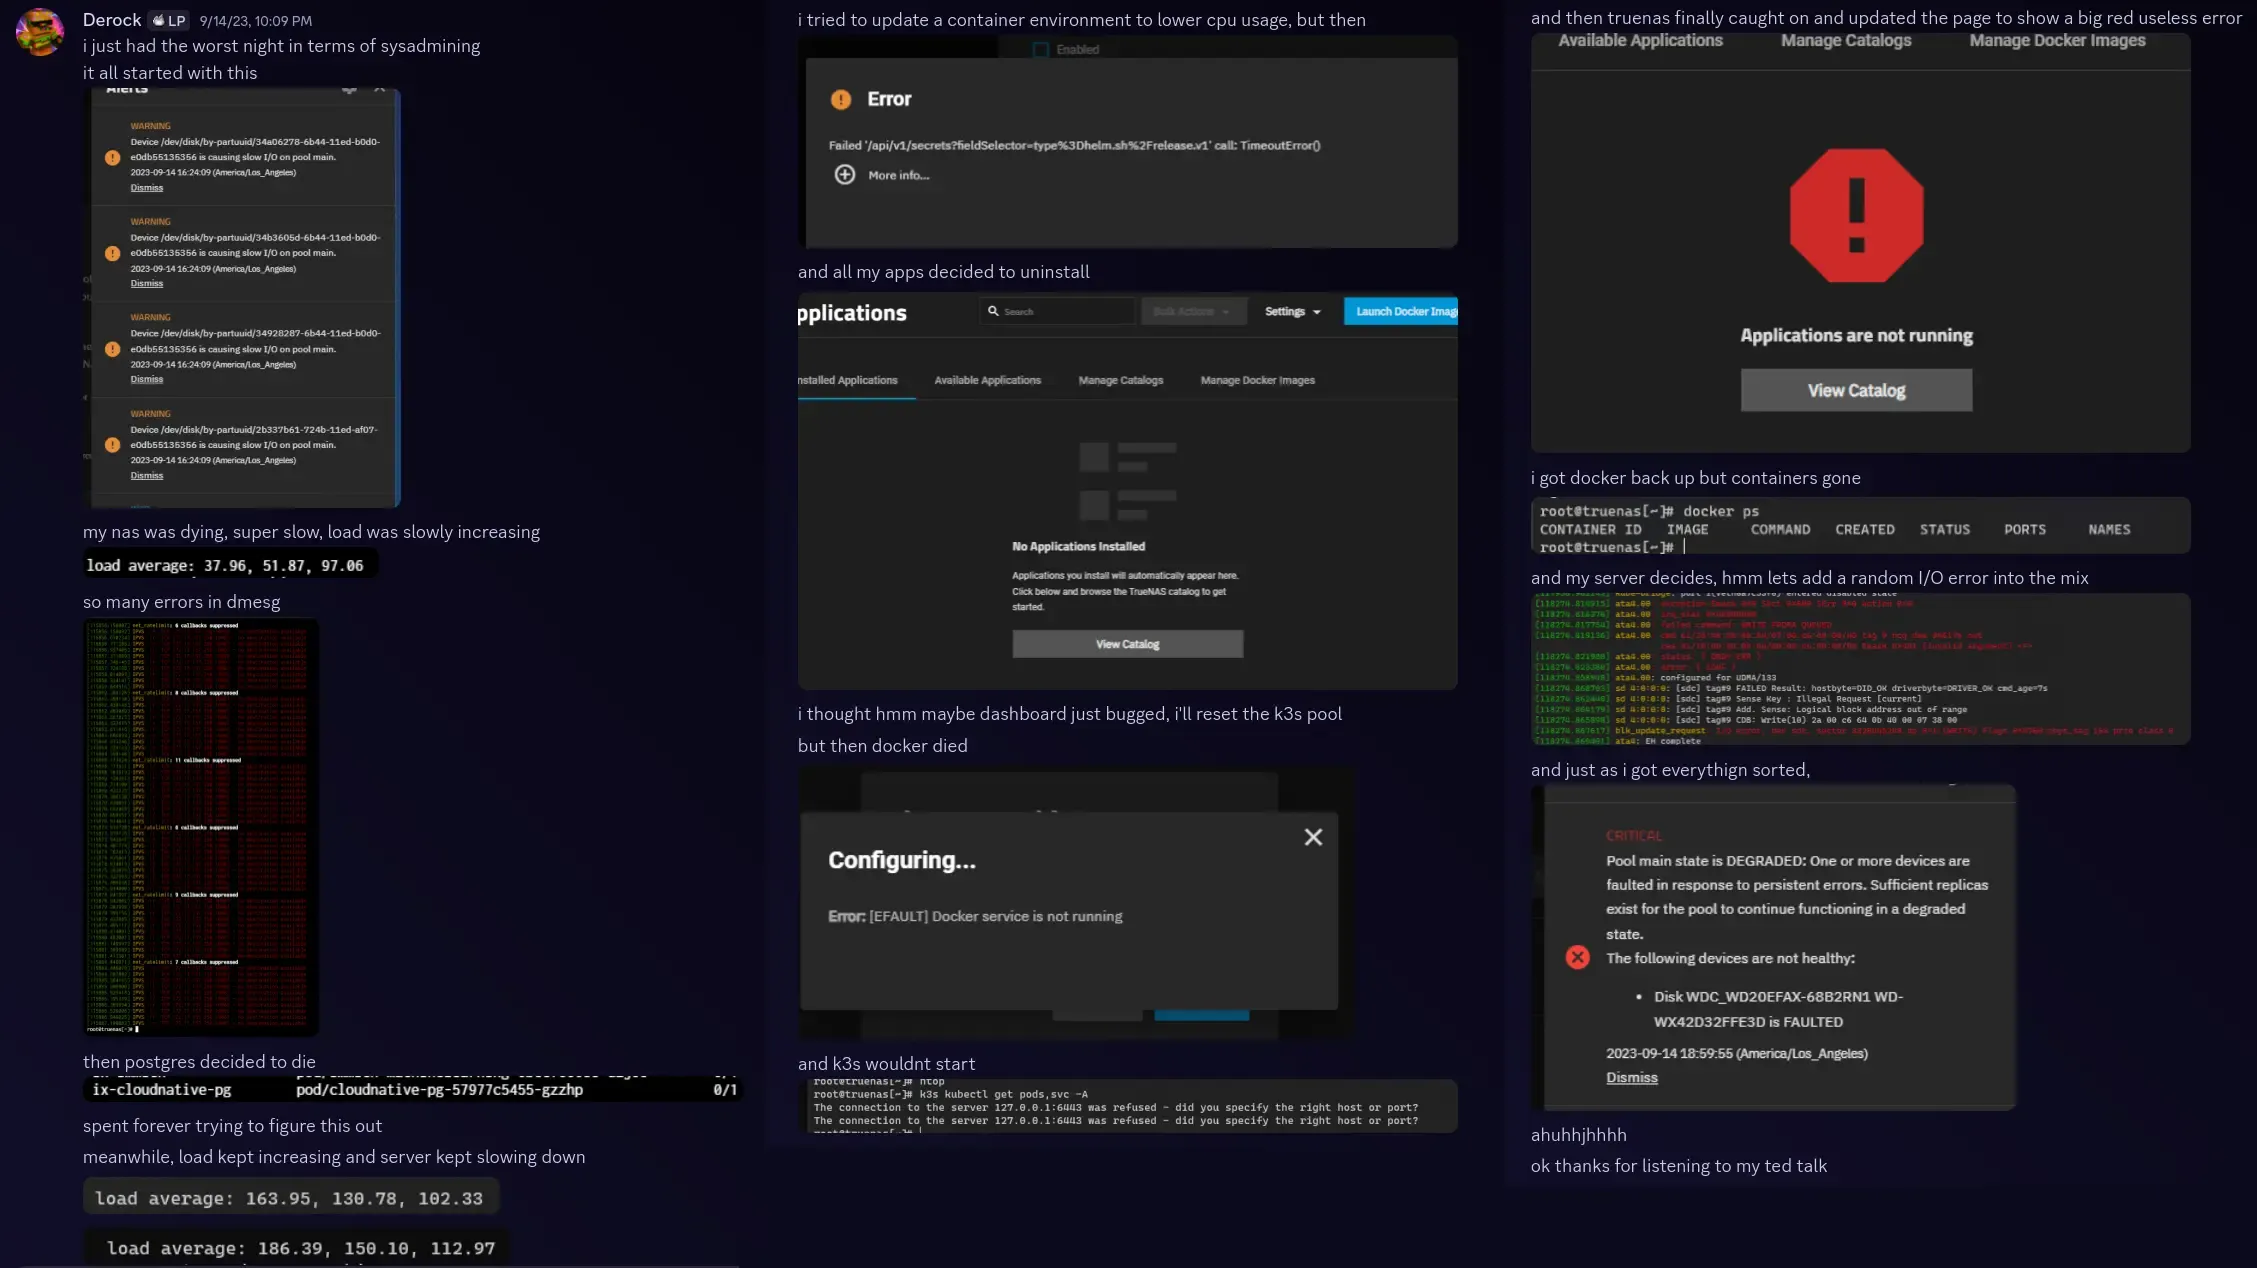
Image from my personal experience—nightmare fuel.
But other than that, TrueNAS was great. It handled storage and network shares well, and the UI was clean and easy to use. I would recommend TrueNAS for anyone who needs a simple NAS solution, but not for power users.
So on to Proxmox
After fighting TrueNAS a few more times, I decided to make the jump to Proxmox. It’s a lot more hands-on compared to TrueNAS, but it’s also a lot more powerful.
I started by mounting all my drives to the host and created a ZFS pool with them, opting for raidz1 which means I can withstand a single drive failure. I then created an Ubuntu container to run 45Drive’s Cockpit File Extension to handle network shares, passing through my ZFS datasets from the host. It’s relatively simple, but gets the job done.
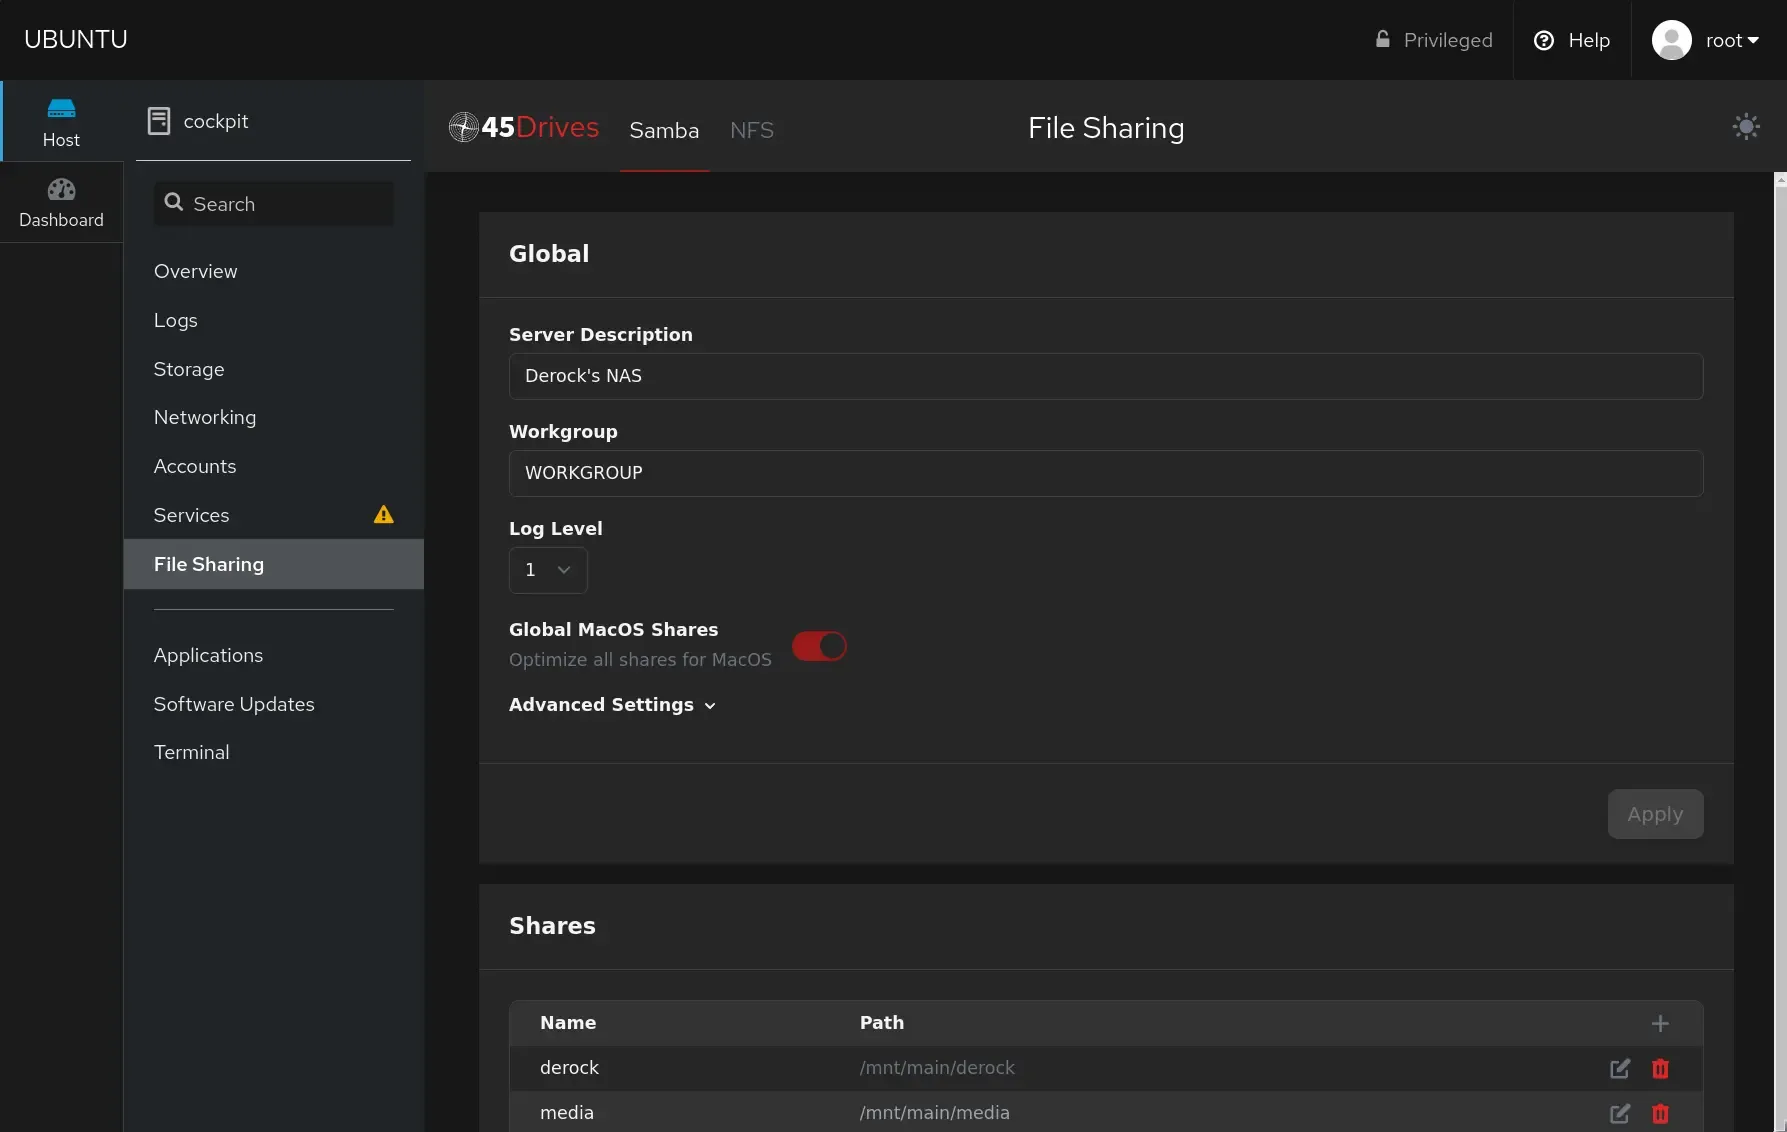
Screenshot of the Cockpit File Sharing Extension.
For my other apps, I run them in a debian container with Docker and Portainer installed. Most self-hosted apps come with a docker-compose file, so it’s as simple as copying the file over into the Portainer UI and deploying the stack. Currently I’m running: Jellyfin, to handle my private media library; Immich, to backup my photos from my phone; and a few other apps.
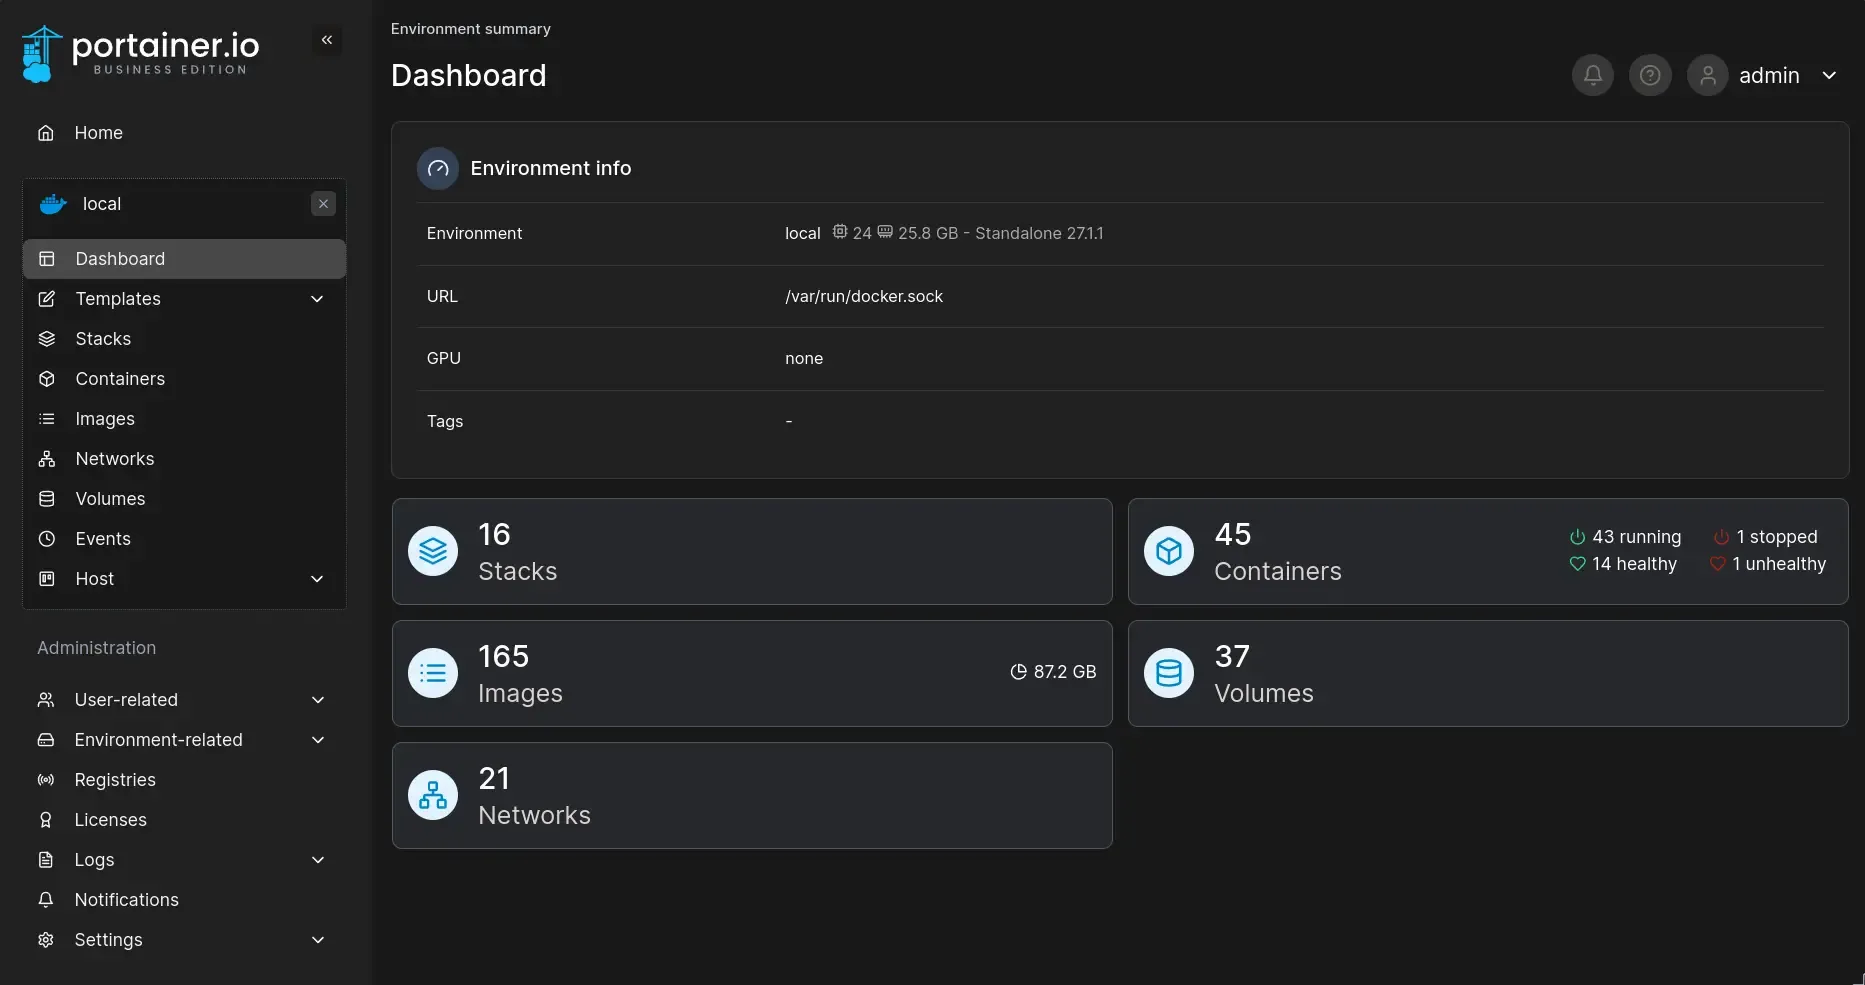
Screenshot of the Portainer UI.
For game servers, I am able to use Pterodactyl to manage them. Setup is quite simple if you just follow the official documentation. I’m now running a private Minecraft server for my friends and I, and it’s been a blast. I’ve also experimented with servers for Palworld and Satisfactory, and they’ve all run great.
Lastly, I was able to deploy a MacOS virtual machine to run BlueBubbles, a self-hosted iMessage server. So now, I am able to send and recieve iMessages on my Android phone, which is a huge win for all people who don’t like seeing the green bubble. Nickolas Sherlock has a great guide on how to set up the MacOS VM.
Remote Access
To access my server from outside my home network, I am using Tailscale. It’s a painless installation, and their MagicDNS feature creates memorable URLs for my services. The tailscale serve feature also allows me to access the dashboard for my services with built-in SSL while all being private and not accessible to the public.
But for some apps, I want them to be exposed to the public. For example, I want my friends to be able to access certain albums on Immich, or I want to share a certain media file with someone outside my network. For this, I purchased a cheap cloud server from SpeedyPage who offer cheap 10gbps servers. Then, with the help of a site-to-site Wireguard VPN and NGINX Proxy Manager, I am able to route traffic from my cloud server to my home server. NPM also has a caching feature, so if my home server goes down, the cloud server will serve the cached content until the home server is back up.
And lastly, to handle the worst case scenario of the home server going down, I purchased the NanoKVM—a small RISC-V board that offers remote KVM access to the server. It passes through the HDMI and USB port of my server, so I can remotely reboot the server and access the BIOS if needed.
Conclusion
Running your own server is a great way to learn about how computers work and to have full control over your data. It’s not for everyone, but if you’re willing to put in the time and effort, it can be a rewarding experience. I’ve learned a lot about networking, virtualization, and storage, and I’m excited to see what else I can do with my server in the future. If you’re interested in setting up your own server, I highly recommend checking out the Proxmox documentation and the LinuxServer.io community for self-hosted apps.
